google analytics

Contributors

Friday, September 28, 2012

UNREAL ly Good!


Well, Bzzagent has done it again!  I really love getting to try new things and share them :).  Well, these are the unreal candy line.  If you look above you can see all five different "flavors" offered.  I'm going to quote their website with how they came about deciding to create these awesome candies!


IT TOOK A QUESTION FROM A 13 YEAR OLD

A few years ago, Michael and his 13 year old son Nicky got into an argument over Halloween candy.  Nicky came home with his bag of loot, went to bed, and woke up the next morning to find that his dad had confiscated most of it.  It played out the way these fights normally do, with the candy gone and Nicky going to his room.

Later, Nicky did some research online (to prove to his dad that candy isn’t so bad).  He discovered that his dad was right (for once).

It’s not that Nicky thought candy was healthy.  It’s that he didn’t know how bad it really was. What Nicky learned was that the worst parts of candy (like hydrogenated oils, corn syrup, artificial colors, flavors, and preservatives) aren’t there to make it taste good.  They’re there to make it cheaper to produce. Nicky had a hunch that without the junk, candy could taste better. With the help of his older brother Kris, and his dad, they set out to prove it.


Luclin trying to steal a taste of the candy.

So, how awesome is this for a way to start a candy company?  What a kid, right?  This is what started this new line of candy that boast of containing No artificial ingredients, No hydrogenated oils, No corn syrups, No preservatives, No GMO's, and to have a low glycemic index.  Both Mike and I struggle with insulin resistance.  Eating candy and sweets (without protein to balance it) can really make a good day into a bad day for us, so I was super excited to try these! 

 BzzAgent sent me my coupons to share and my coupons for a free product for myself.  According to the website, Kroger is a carrier of the product, so I began stalking my Kroger.  After a couple of weeks went by of them saying "Oh, it may be coming in our next shipment" we started expanding our search.  Sadly, these guys were hard for me to find :(, but we did find them in the end!  It was at the Michael's on the other side of town (the most difficult part was getting there before they closed since we only ever seem to make it out for shopping late these days).  When I got to the store and saw them all arranged on the shelf, I realized I had another problem....I couldn't pick one!  What's the easiest and best solution to this type of problem?  I bought one of each!  So, here are my feelings on what you'll notice the most when converting over to this new brand of candy compared to their name brand "junked" alternatives!

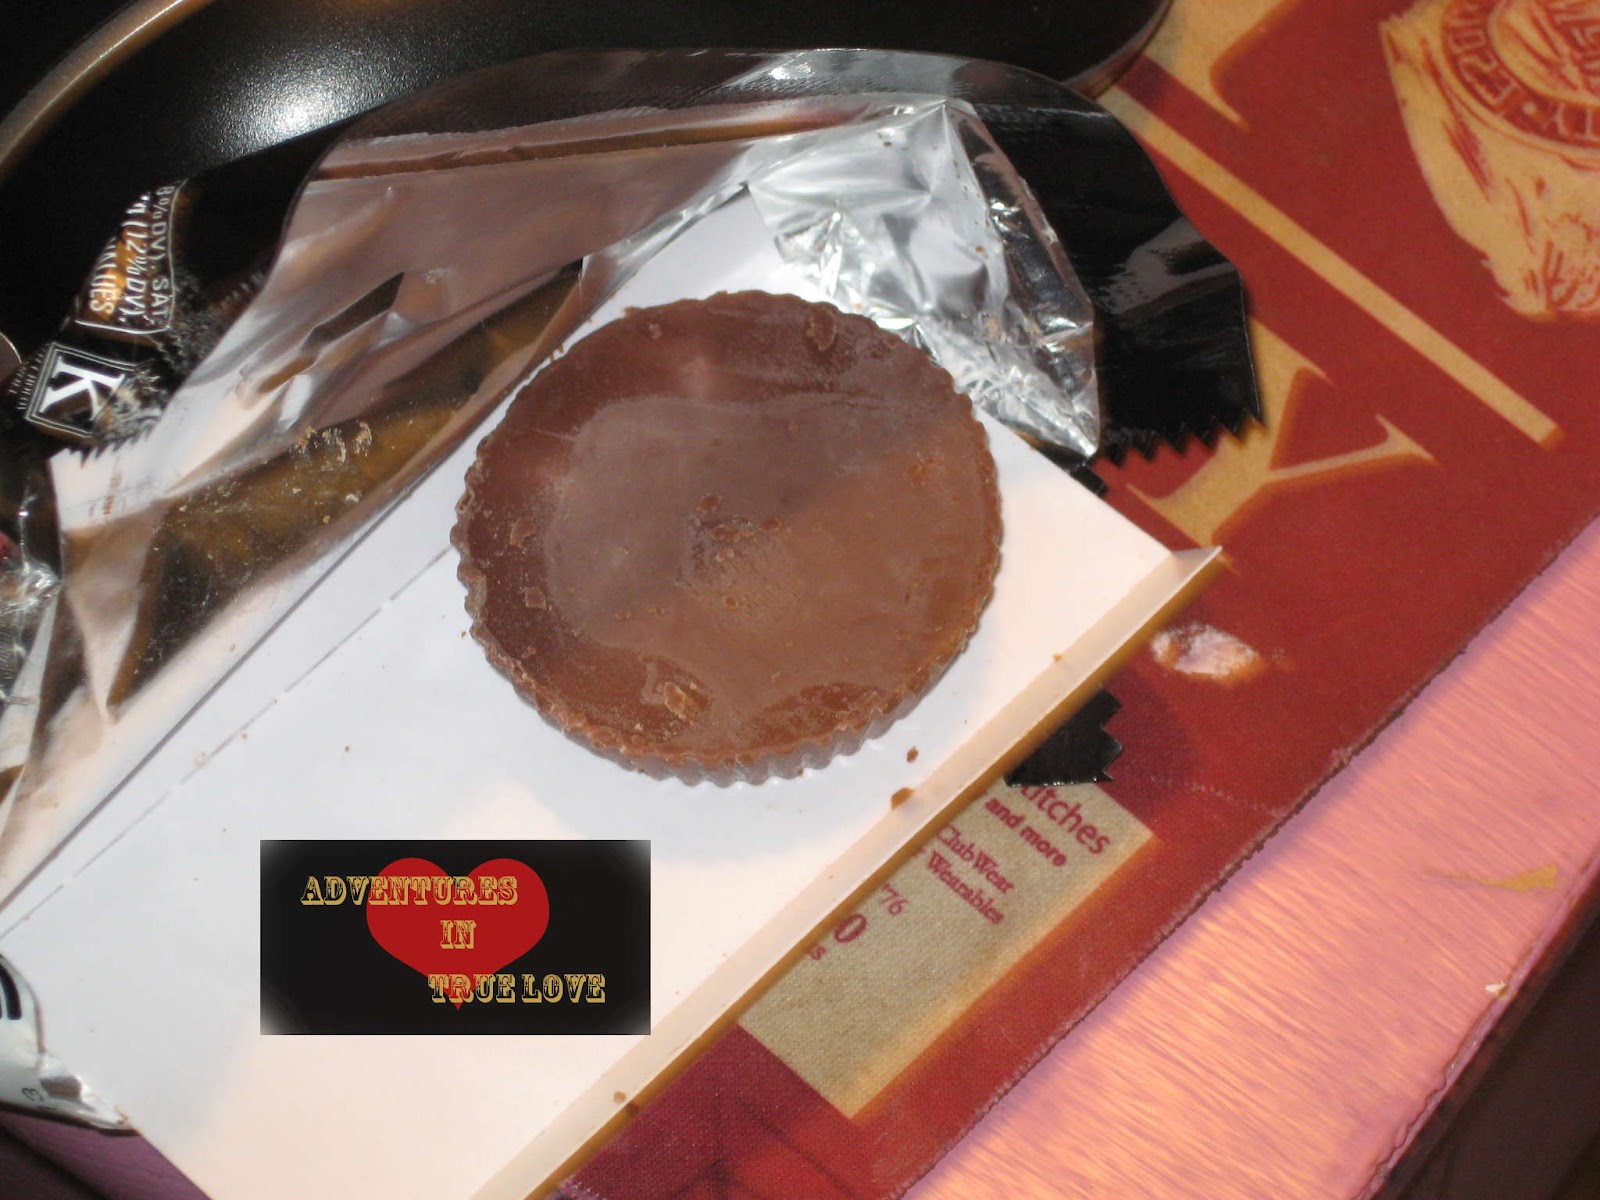
UN 77-peanut butter chocolate cup


We'll start off with my least favorite one (although, to be fair, I just don't normally like peanut butter cups.).  The biggest thing I noticed was that the peanut butter filling tasted slightly salty to me.  Mike (who loves peanut butter cups) said that the chocolate to peanut butter ratio (I'm sure you other folks who love these guys will understand this comparison) was leaning more towards the chocolate.  He agreed with me that they were slightly salty, but said that he would gladly eat them again.

UN 41- candy coated chocolates

These were most likely Mike's least favorite.  We noticed a slightly bitter taste to them that we weren't used to.  It wasn't a lack of sweetness bitter, but a dark chocolate bitter (which I loved, but Mike did not).  So, if you like dark chocolate go for these!  If you're like Mike and hate dark chocolate, don't get excited because you love this type of candy and pour a whole handful in your mouth.  (This most likely did happen in our testing ;) )


UN 5- chocolate caramel nougat bar

After giving Mike this candy (and since I've never had the name brand alternative before) under the wrong comparison, I discovered that this name brand is another of those types of candies he hates.  The good news is that he actually really liked this one!  He was surprised and I was surprised.  To me, the taste was really similar to the chocolate protein bars I eat.  This isn't bad (because I actually really like some of the chocolate protein bars) it just caught me off guard!

UN 8- chocolate caramel peanut nougat

This was Luclin's favorite....Just kidding.  To be fair though, this is the only candy he tried to steal a bite of (he's very selective in what people food he ever wants to beg for, so you gotta know this was good!).  The name brand alternate "junked" version of the candy is Mike's absolute favorite candy.  (Growing up it was my mom's favorite candy...so these were always stolen out of my trick-or-treat pails!)  Sadly, he devoured it upon tasting it and I only really got a tiny bite out of his guilt for eating it all.  He described it as having an overall more balanced flavor where he could actually recognize the nut flavor.  He also said that it tasted more sugar sweet and less fake sweet.  (I'm not sure how he tasted anything the way he engulfed it though, but I trust him!  :) )

UN 54- candy coated chocolates with peanuts

These were (without a doubt) my favorite of all the current flavors!  I've always enjoyed the "junked" alternative, but these really hit the spot for me.  (I'm afraid to say that the way Mike ate the UN 8, I ate these.)  Compared to the alternative, these are slightly sweeter (once again in a good way) and you can really taste the peanut instead of it being a solid lump of tasteless peanut in the center.  If peanuts could be light and fluffy, I'd call these guys light and fluffy!  Mike really liked them as well, but I didn't share many so he's already planning a trip out for a couple of more packages!

I hope my descriptions help you know a little bit about which ones to choose (because I HIGHLY recommend you trying them out!) to try in your home!  I tried to take a "realistic" approach in my description so that there were no surprises for any of you!  Now, the cool thing about this candy company is that the more they see people liking them, the more different brands they'll start to "unjunk" so join the UNREAL NATION so we can see what other marvelous candies they develop!


Tuesday, September 25, 2012

Experimenting with Gluten Free Cooking!

My finished product.  Gluten Free Home Made Hot Pockets...err...snack pacs!
Well, I love to cook (big surprise there, huh?).  Recently, I've gotten closer to some amazing people who have gluten free diets.  I really wanted to do something special for them, so I made them some snack packs (my version of hot pockets that I've been experimenting with lately).  I never realized all that would go into cooking gluten free!  So, in a way, this has become it's own little adventure.

My lovely supplies...although I ended up not using the egg.
My first thoughts were that I would only have to worry about the actual flour being gluten free.  I was wrong.  Gluten goes into so many different ingredients that I never would have guessed!  For this I focused on things that would go in a pizza hot pocket.  (I'll include my recipe for these a bit later in this post don't worry :) ) I do want to state now that I may have made some slight mistakes through this process and I apologize.  I dived in (like I always do) and took the challenge.  Thankfully I have been told that these friends (or at least one of them) are willing to be "test subjects" for these cooking experiments!  My first step was to go and look for the gluten free flour.  I went to my local grocery store and had a selection of three "flours".  There was all purpose, bread, and baked goods.  I did have a tough time trying to decide which flour would be best.  I ended up deciding on the all purpose flour since I thought if I had any left I could use it for other baking projects.  Just so everyone is prepared, I spent about $5.00 for a pound of gluten free flour.  It is more expensive than traditional flour,  but if it's what you need to enjoy baked goods, it's what you need!  Next I grabbed extra butter and some cheese.  I decided to go with the Italian blend instead of the pizza blend purely because they were constructed almost identical (the Italian blend had a few cheese types the pizza blend didn't) and the Italian blend was almost half the price.

Dry ingredients pre-mixing.

Yes...I do weigh price into my decisions.  The pepperoni was easy.  Just plain pepperoni.  The sauce was tricky.  I've never actually purchased pizza sauce I realized.  I didn't even know where to find it!  We almost picked up spaghetti sauce instead then Mike finally found a clerk and asked.  Now, while we were looking for the pizza sauce (and while we were looking over the spaghetti sauces to possibly get one of those instead) I noticed that some of them were marked gluten free.  When I found the pizza sauce, I looked but none of them were marked gluten free.  I ended up looking through the ingredients of each of them (thankfully it was a small section) and found one that had very basic ingredients (water, tomato paste, seasonings, ect).  It was the only one they had that didn't mention wheat or any gluten warning at all, so it was the one we got.  In the long run, I was just really surprised.  It never occurred to me that gluten is in so many products.  One of the other things that really surprised me was that gluten is in some baking powders, so make sure you check yours out!

The dry ingredients mixed with some cheese added in!


When we got home, I got myself started!  I added all my dry ingredients while taking small pinches to taste to try and tweak it.  Let me say it here.  In my opinion, the all purpose gluten free flour has a gross after taste.  I've been doing a little research at The Gluten Free Goddess's site and it sounds like I may have disliked the taste of the white rice flour.  Going forward, I plan on skipping out on that as much as possible (meaning I'm going to be experimenting with different types of gluten free flours to figure out my recipes).  I'd made a non-gluten free version of this dough using a recipe before.  I only changed the seasonings I mixed in as well as the type of cheese.  The flour said I could add it to all recipes cup for cup so I figured this would be easy!

My dough mound.

It didn't work like that.  I had to add extra butter (remember this was me experimenting) as well just play with the dough to get it to a somewhat dough consistency.  The all purpose mix I bought had a really gritty texture to it.  In the end (because the gluten in wheat is what makes dough flexible and I haven't had the experience with cooking this way to know how to compensate for it) I ended up with a mashed potato texture that I flattened for my dough.  Once I know more, I hope I can go back and make this a better recipe but I'll share what I have for now!  Oh, and be forewarned...baked goods using this type of flower don't seem to brown as much, so pay extra attention to the edges!

Before baking. 


Gluten Free Pizza Snack Packs

Ingredients:

For the Crust:
2 C. All Purpose Gluten Free flour
2 tsp. baking powder
2 tsp. salt
2 Tbs. pizza seasoning
1 C. Italian cheese mix (or cheese mix of your choice)
1 C. butter (room temperature)
8 Tbs water

For the Filling:
Pizza Sauce
Cheese mix
Pepperonis

Instructions:
1. Mix together the flour, baking powder, salt, and pizza seasoning.  I used a whisk to ensure it was evenly mixed together.
2. Add the cheese to your crust mixture and once again mix together.  I used my whisk, but used a folding action more than a stirring action to try and get it all spread out.
3. Add in the butter.  Use your hands to make a "crumb" mixture with the butter and the dried ingredients.  (The best way of describing this motion for me is to say that you squeeze the butter into the dried ingredients the say way you fold dough over into itself.)
4. Continue in the a fore mentioned mixing technique and add in your water.
5. Preheat your oven to 400 degrees Fahrenheit.  (I hate having the oven going the entire time you're working on a difficult task only to waste electricity.  Feel free to preheat before if you would prefer.  My kitchen just gets hot fast.)
6.  Stick your dough in the freezer while you get your filling ingredients together.  (The goal here is to get the dough cool.  If you'd rather stick it in the fridge and watch a movie, go for it.  I just like to do the entire project in one swoop!)
7.  Take about a three inch ball of dough and flatten into a pancake shape.  You want the flattened product to be as even as you can make it, but as thin as you can make it too.  This will take some practice.  (And it feels like playing with mashed potatoes!)  Lay your finished "pancake" on your baking pan.
8.  Using about 1 TBS of pizza sauce, spread it over the "pancake" sparring a 1/2 inch edge around the circle.  Lightly sprinkle some cheese (just remember, that cheese is going to melt!) and then place your pepperonis.  I followed this by once again sprinkling cheese and adding about a 1 tsp. dollop of pizza sauce on top.
9.  Make another pancake the same way you made the first one.  Gently drape this dough over the top of your pizza filling and lightly press the edges for an informal seal.  Take a fork and press down the dough all around the edges (see above picture) to make a tight seal.  This is also the point where I would check for any breaks in the top crust and smooth small pieces of dough over them so that my filling wouldn't bake out.
10.  Repeat steps 7-9 until your cookie sheet is full of snack packs!
11.  Bake at 400 until the edges are lightly browned.  Move to a cooling rack to let cool.
12.  To store these in the freezer (and make them more like hot pockets) let them cool on the cooling rack then wrap them in freezer paper.  My wrapping method is to set the snack pack half way down my freezer paper piece and fold the bottom over it.  I then fold my sides in like a triangle to seal the sides of the pack.  Then gently flip and fold over until you only have a small piece.  I tape that down with plain desk tape and write what they are with a magic marker.  I suggest keeping them stored like this inside a gallon zip lock bag.  To reheat:  Cook in a microwave on high for 45 seconds.

Fresh out of the oven on the cooling rack.


I hope you all enjoy them!  I'm sure my next experiments will be even better!

Tuesday, September 18, 2012

Glade Expressions Collection Review Time!


As I've mentioned several times, I am a BzzAgent.  This means I get to try all these new and nifty products and tell everyone about how much I love them or how much I don't.  Glade was awesome and sent me a HUGE (well I felt it was huge) coupon book full of coupons to share as well as some coupons for me to get free product with too.  We picked up our set at Meijer.

The two we decided to try!
I did have to hand out some coupons while at the store (even though I hadn't tried it) because I could already tell they smelt good (at least initially) and the store was having a sell on them.  I figured, the less money people have to spend initially, the easier to get them hooked!  I brought my lovely little friends home.  We chose the fuji apple and cardamon spice spray because Mike fell in love with the little "lift here" sample sniff on the oil diffusers.  We chose the Pineapple and mangosteen diffuser because we really appreciated the look of the wood holder (well and we wanted to try two different fragrances).

The back of the spray bottle with it's instructions.


What the spray bottle looks like with the label removed.


I'll start with the spray bottle (because it is a bit more simple).  The idea behind the design of this spray is that the it is simple looking and will match any decor without screaming "I need smells goods in my house!".  I really do appreciate the fact that the label with the fragrance name/brand/details comes off.  It really made me feel a bit fancier and willing to leave the spray out and about in rooms that aren't the bathroom (because what happens/is seen/ is smelled in the bathroom stays in the bathroom).  There was a downside to this too though.  It's plain white.  Just white.  All of them are white.  Not only do I feel like this is going to need constant cleaning (because you're hands don't have to be amazingly dirty for dirt to cling to white and this is something that will be going in people's hands frequently) but I really wish that there had been some bottles with prints on them.  I love cutesy patterned things and really like for the things I use on a regular basis to reflect that about me.  (Plus cute things make me feel happy and I find myself using them more because of that.)  I'm sure that white matches most normal people's homes just fine, but it would be nice to see at least one or two patterned bottles in my opinion!

The wheel you twist to refill the spray bottle.
Gotta love Box openings!
I find this especially true since the holders are refillable.  As you can see in the picture above, the bottom of the bottle twists off and you just pop out the old can and pop in the new.  It was amazingly simple!  (I tested how easy it was to replace purely to test it.  I have not run out of my fragrance yet :D).  The last thing spray specific (I will talk about the apple scent in a moment) is that the bottle can be slightly hard to squeeze.  Instead of having a lever that can break on you, Glade made it so that we just squeeze the neck of the bottle to release the fragrance.  If you look at the above pictures, you need to squeeze right where that red is peeking through.  It's not a huge hindrance (and I could just be a weakling), but occasionally I need both hands to squeeze it.  Mike, however, has no problems with this.  Maybe my hands are just small!

The back of the box.  30 days of fragrance and a no-spill design!  Score!


This next bit is going to be slightly more picture heavy.  The concept behind the diffuser is a bit more complex and I really want to get across how cool I think it is.  First off, the diffuser seemed to be packaged really nicely.  It was easy (as you can see from the photo above) to figure out how to construct it.

The oil in the bottom of the base. 

The look of the wood/bamboo style diffuser.
 So, first off, I do feel like there is a really good chance this is spill proof.  All of the weight is at the bottom (the weight of the oil and the base feels pretty solid too).  To lightly test this, I even put the diffuser down where the animals could check it out.
The diffuser card!


None of them managed to spill it, but I can't say for sure (since I haven't experienced this yet) how much of the weight is going to be lost when the oil starts running low.  


Once again, I found myself disappointed by the lack of patterns available.  As far as the decoration of the diffuser went, it was white (ick) or bamboo/wood look.  Now, we absolutely adore the bamboo/wood look!  As you can see above it has a very nice grain pattern and as you will see below in a bit, it accents the diffuser card nicely.  To put this thing together out of the box, you take the diffuser card and push it into the oil holder.  I just pretended it was one of those funky milk bags we had in school, got a firm grip on the bottom, and pushed it down.  It makes a slight clicky noise and you're ready to decorate with freshness!

My diffuser in it's new home on top of the tv!
As you can see, it doesn't take up much space and it really does look nice put on display.  Our living room isn't very big and our tv tends to take up alot of the space.  Having the diffuser on top of it also brings the fragrance to head level.  I have begun to receive the compliments of "Your home always smells so nice when I come over" (of course my renewed infatuation with cooking and canning could help that too!).  Since I'm here and talking about the diffuser, I'll talk about it's fragrance first.  The Pineapple & Mangosteen smells like a tropical pina cola smoothie tastes!  It's a very delicate blend of pineapple and tropical scents.  I'm not normally a tropical smell goods kind of gal (to be honest, if selecting for myself alone and not for the look of the diffuser as well I would have picked the lavender).  I normally love vanilla, honeydew, and overall delicate scents for home smell goods.  Tropical sometimes very easily crosses that line of "too sweet" smelling.  That being said, I LOVE this scent.  I feel like it is the perfect balance of fruitiness and it really has an overall calming smell.  I want to say I plan on trying the other scents, but I don't know if I'll be able to bring myself to.  This smells that good!

The spray in it's new home in my dining room.

The best way to describe the Fuji apple & cardamon spice scent is to say that it smells like apple cider.  Pure and simple apple cider.  The scent to me is very reminescent of (now this is an experience I didn't have before moving to Michigan) going to a cider mill and breathing deep as you (and several others) sip the fresh cider.  Each time I smell it, my mouth starts to water for a cake doughnut and I'm ready to count the days down until our first orchard visit.  It's a very "fresh" smelling scent.  You can smell the slight sourness (think Granny Smith apples) and then it's followed up by a light mulling spice smell.  Now, Mike (lover of all things apple cider) loves this scent as much as I love the pineapple (to be fair, I really like it too!) so I think we're going to have to work out a balance between them!

My overall summary of my opinion is this:

Bland bottles and diffusers = bad
Amazing scents = good
Ease of use and setup = good
Construction = good
Lasting of scents = good so far

I really suggest trying these out.  You can visit their Facebook page here for more information, reviews, and just to familiarize yourself with them more than I have for you!

Monday, September 10, 2012

Blushing Peach Jam

canning
My clean stove all prepared for an evening's work!

As much as I've tried to ignore it...fall is here.  Which means...canning!  Well, that and getting ready for winter.  I've already made one batch of jelly so far this season (it was a Cranberry Cider Jelly and super yummy) so I figured I'd make the tried and true:  Blushing Peach Jam.  This was the first canning recipe I tried and it has yet to let me down!  (Even if it gets requested by folks so often that it is the first one I run out of!)  Here is a link to the recipe.  The version I use is in a cookbook from the 70's, but it is the exact same recipe!

canning
Jars ready for canning in all their goodness ;)

I guess I should give a little current event background news.  A really dear friend of ours was recently in a climbing accident and since we really are endeared to our injured friend's brother and his brother's girlfriend as well, we've been trying to step in and help where we can (without being bug-a-boos).  So, originally, Mike was going to help take pictures and learn to make the jam, but something came up and I flew solo on this post and project.  (This gave me plenty of fun stories to share though, so you'll all enjoy it!)  To be honest though, I wonder if the reason behind his sudden interest in canning is because I let him use my canning pot (under the condition that he scrubbed it clean after he was done) to make his beer in.

Changing the trash bag?

So, I bet y'all are wondering why there is a picture of a dollar tree bag standing in for a normal trash bag.  Well, when Mike first left (and I was getting prepped to start), I noticed the trash was at that full enough to be taken out but could probably have a little more squeezed in.  I decided to help him out and take it out.  I was extremely proud of myself (okay, it was more because I had the opportunity to help him with something that he normally takes care of before I can ask) until I realized that I have NO idea where he stores the trash bags.  I looked under the sink, high and low, in cabinets, on shelves, every possible place I could think of to look for these things.  Finally, I resign and find myself a Dollar Tree bag (see, that would be why ;) ) and struggle another few minutes to secure it to the trash can.  As soon as I stand up to look my work over one final time, guess what I see?

The super secret trash bag hiding spot!

It would seem that the ideal place to store trash bags is behind the trash can.  How I didn't see those until after I had struggled to make the little dollar tree bag stay without ripping, I'll never know, but it did make for a fun start!  So, I started my project!  The first thing I did was rinse and sort my raspberries.  I was lucky enough that I found them on sale for $0.99 a pint (what a steal!) but that did mean that some of them were starting to show signs of getting ready to be bad.


canning
My raspberries before "crushing" them.
canning
Raspberry slush.
I know I ended up sorting out a little less than a pint due to their deteriorating condition, but at that price, who am I to complain?  It really does stink to just toss away money like that, but I would rather toss out some raspberries that may have been fine than to make someone sick.  I sorted them (after washing them) directly into my little...tool.  I have no idea what the correct term for it is.  It can turn things into a slush as well as has a mandolin attachment I can use (I don't normally since I have the big one).


Doesn't it do an amazing job?  It's hand powered too!  (By hand powered I mean that I have to turn a crank, but it really isn't that difficult :) )  It's very easily one of the coolest hand me downs my mother in law has given me yet!  After you get your raspberries all ground up, you do your peaches.  Normally canning recipes with peaches will have you treat the peaches to keep them from darkening.  It isn't really necessary here (since you'll be cooking squishing them and the raspberry color is going to drown out the peach color anyways) but if it's something you really want to do, I don't see why you couldn't!  Now, I made a video for you all of how I like to peel peaches for this and for sliced canned peaches.  I do still run on when I get nervous.  I also did my best to try and stay in the camera's view range, so I apologize if it's hard to see.  I had the camera propped up in my dish rack while filming this so I could have use of my hands.  At least it's better quality than last time?  Anywho, all of the warnings (not directly related to my bathroom) for the last video apply here.  One day I will hopefully not dislike myself on film (picture or video) as much, but for now, it's an impressive feat that I filmed this!  After I got my peaches sliced, peeled, and crushed, I added them on top of the raspberries in the pan!

canning blushing peach jam
Ahh, the beauty of canning.  Look at those colors!

I almost wish there was someway to preserve the two separate colors when canning.    It's just so purdy!  Well, I added in the rest of my ingredients (minus the almond extract you add in at the end) and got it a cooking.  The tricky thing about this recipe is the timing.  You get you future jam all mixed up and boiling, boil it for one minute, then take it off the heat to add the pectin.  As soon as the pectin is in, back onto the heat for another quick one minute of boiling time.  I tend to struggle with wanting cooking things to go exactly as planned or instructed as the case may be.  It was as I turned on the burner under my peaches and raspberry mix that I fully realized what Mike borrowing my phone meant.  He took my kitchen timer!  Thankfully, I was able to make a mad dash (I'm not sure why I was so panicked the exact minute I turned the burner on.  I knew it was going to take it a bit to really warm up, but I was really worried that I had forgotten this crucial component.)  into the office to grab my pocket watch necklace so I could time the cooking time.  It was here that I decided to do a final set up sweep (getting everything in place for the actual putting the stuff in the jars and any other steps.  My kitchen is slightly small, so I have to arrange things in steps.) and discovered that I had forgotten another important item in my gathering!

peach and raspberry
Just keep cooking...cooking...cooking...

I made another hectic dash (dodging the now curious dogs along the way.) back into the office to retrieve a pair of scissors.  Now, in my defense, this is the only canning recipe I use that uses liquid pectin instead of the powder form.  I guess I should also note that Luclin (our older Maine Coon cat who has recently become a slight bit of an outside/inside kitty) was meowing at the top of his lungs outside of the kitchen window the entire time I was canning.  I swear I wasn't being mean to him!  As I was getting everything laid out, I tried to get him to come in several times when he meowed at me through the window.  Each time he came running to the back door (for some reason, he hardly ever leaves the backyard when he does go out and then it's only to come and greet us out front) and then jumped on the porch railing (I'm not really sure if counts as a porch to be honest....it's a very small wooden square platform at the top of some steps that lead to another larger wooden platform) and cooed (you know that half purring half meowing that cats sometimes do) at me to pick him up and carry him in.  Normally this isn't a problem, but I was was in cooking mode with my apron on and he knows the apron means no loving on any pets until it's off.  I tend to be extremely defensive of my apron when I'm cooking.  I won't hug Mike, I won't sit down, I do everything  I can to keep it clean so I don't get anything on my food.

All eight half pints of finished jam.  Isn't it pretty?


After repeating this cycle with Luclin four or five times, I told him that this was his last chance to come in before I started cooking and if he didn't that he would have to wait for me to finish.  He didn't.  Of course.  Instead, he chose to very vocally complain that I would choose to make food over adoring him.  Well, back to the jam adventure.  After my jam had done it's initial one minute boil, I quickly grabbed the pot and moved it to sit on a pot holder near the sink (you have to remove it from heat) to add the pectin.  In my hurry, I kicked the pet water bowl that was sitting there (the nice big one they all choose to ignore for the little tiny thing I originally put out just for when I locked up the puppy when we left the house that I now end up refilling non stop during the day) and made a moderate mess.  I continued with my quest of adding the pectin quickly figuring I could grab a towel as soon as it was back on the burner reheating (I also didn't want to stop and forget that my burner was still on.  Our burners on our stove top take quite a while to reheat so  I cheated and left it turned on.).  Well, while adding the pectin, I completely forgot about the mess.  I moved to put it on the burner and whoop there goes my front foot.  It was only a few seconds, but it felt like time had slowed as I tried to re-grasp my footing before I fell or spilled the still very hot jam on myself.  In the end, I didn't spill a drop and I got it back on the burner no worse for the wear!

peach and raspberry jam
Blushing Peach Jam.

I will admit that as soon as that jam was sitting on the burner, I grabbed a towel and took care of my mess.  I actually even wrapped the towel around the base of the bowl so I'd hit the towel before I hit the bowl again. The rest of the canning was pretty uneventful (except for me forgetting to add the almond extract) and the product is amazingly beautiful.  Mike came home when there was about five minutes left on the boiling water bath.  A note to help with making this jam should you decide to try for yourself.  The recipe tells you to skim off the pink foam.  I always forget this step because the pink foam doesn't actually form (or at least in a way you can really skim off easily) until the jam beings to cool (I'm normally three or four jars in).  So, if you want to skim the foam off, wait or watch (I'm normally too focused on not spilling a drop to notice that I've included the foam until it's too late) for it.  Well, I had some other fun projects tonight, but I think that I'll leave those for a scheduled post (finding my little camera again has made me so happy!) .  If you try the recipe, comment and let me know what you think of it!  I personally love the way this jam tastes!  (Well, and this jam helped me to develop a liking for peaches!)